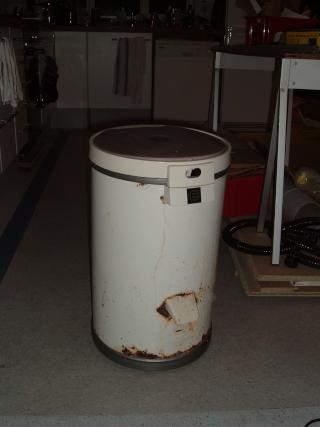
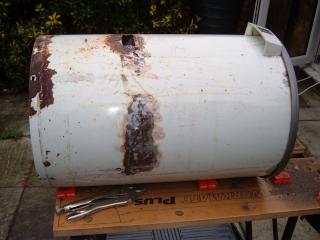
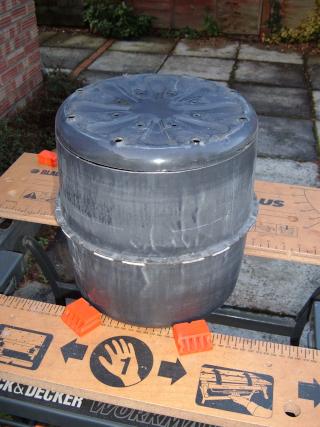
The spin dryer. Note the rust. This is not the rust that was the problem.
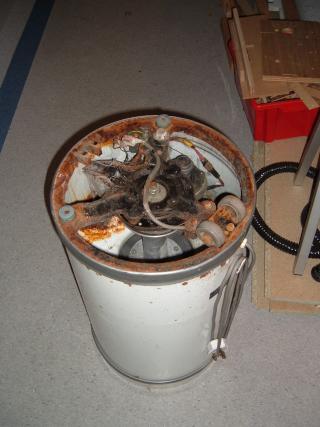
Bottom view of dryer. Rust and untidy wiring
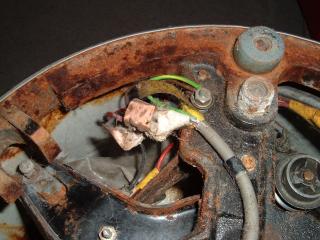
Closer view of bottom: note the interesting insulation; is that pink thing a sticking-plaster? Closer inspection revealed that it was. There were also twist-splices covered with insulation tape.
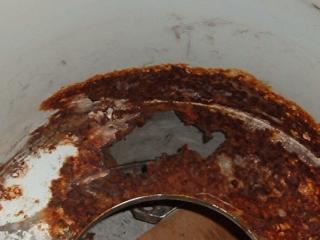
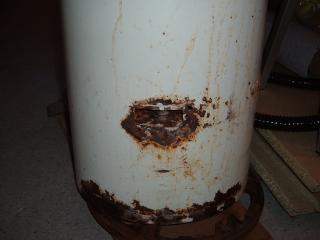
View of inside of dryer after removal of innards. Here’s the real rust. I suspect the hole in the gutter (centre of this picture) might be the reason for the leak.
Spout removed. More rust holes revealed.

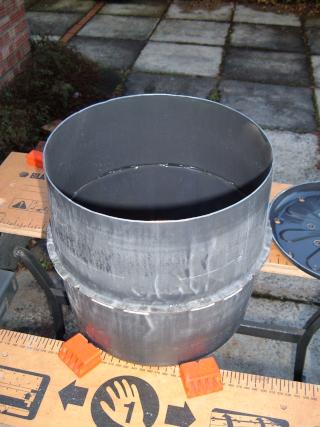
After cutting out the gutter (with an angle grinder)
Part way through grinding off the rust with one of those 3D-scribble prep-wheels
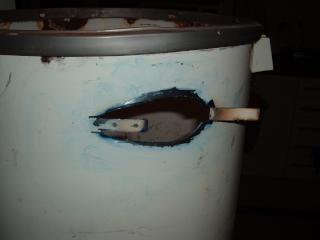
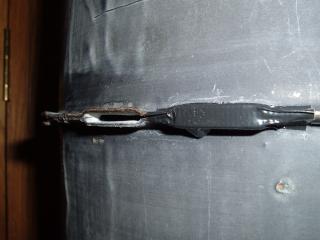
Cut-out for inlet tube. I don’t have welding gear, so I cut tabs to attach the inlet tube to. I used an angle grinder with a thin cutting disc to rough out the hole by cutting slots, bending out the resulting tabs then cutting them off. Finished it to shape with a Dremel with a flap-wheel (a proper die grinder would have been quicker)
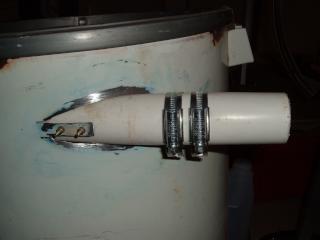
The inlet tube: a piece of plastic waste pipe held on with screws and jubilee clips. The screws have countersunk heads on the inside of the tube so as not to interfere with the airflow. The jubilee clips go round the tab visible on the right in the previous image.
This is the inner drum from the dryer. I decided to try using it as the inside tube of the cyclone, so cut the bottom off. (I forgot to take a proper “before” picture)
Drum with the end off.
Close-up of the drain-holes around the side of the drum. I simply stuck duct tape over them. I suspect it would have worked just as well to wrap a single strip of duct tape round the whole lot rather than doing them one at a time like this.
Holes in the outer case were also sealed off with duct tape …
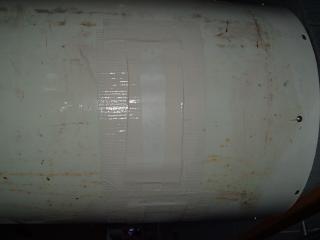
… or in the case of the larger ones, duct tape and a piece of polyethelene cut from a 5l detergent container
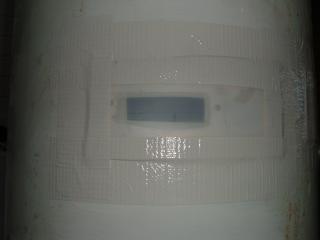
For hole where the spout was, I thought it might be handy to use translucent plastic as a viewport to see if the container is filling up, though I’m not sure it’s possible to fill it this high before the shavings get too close to the inner drum and get sucked out. Anyway, it’s dark in there, so you could only see something if it were pressed against the window.
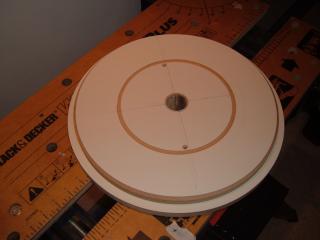
The lid consists of two pieces of MDF, one routered to a disc that fits snugly inside the top of the dryer and the other routered rather larger. I routered a chamfer on the inside end to facilitate insertion. The circular groove is to locate the drum. Unfortunately the diameter of this groove is smaller than can be cut with the beam trammel on my router, so I did it with the Dremel, and that was really tedious. I think it would have been quicker to make a router-compass out of 6mm MDF and then router it than to use the Dremel! The hole for the exit tube was cut with a holesaw and the tube simply glued in with gap-filling adhesive. A similar disc was cut to make the bottom, and all the permanent connexions were sealed around with an old tube of translucent silicone sealant
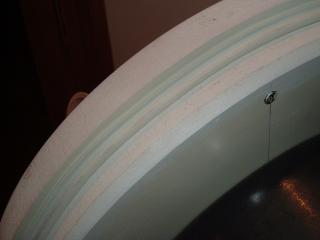
To make a seal between the lid and the container, I used some EPDM P-seal strip. The weight of the lid is enough to press it down, and once the vacuum cleaner is running, the lid is held really firmly.
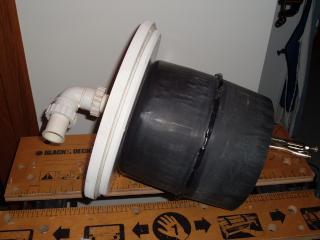
Lid and inner drum together. I think the inner drum is too big, both in diameter and length, compared to the ideal for dust-cyclones. Sink-waste plumbing parts for the outlet.
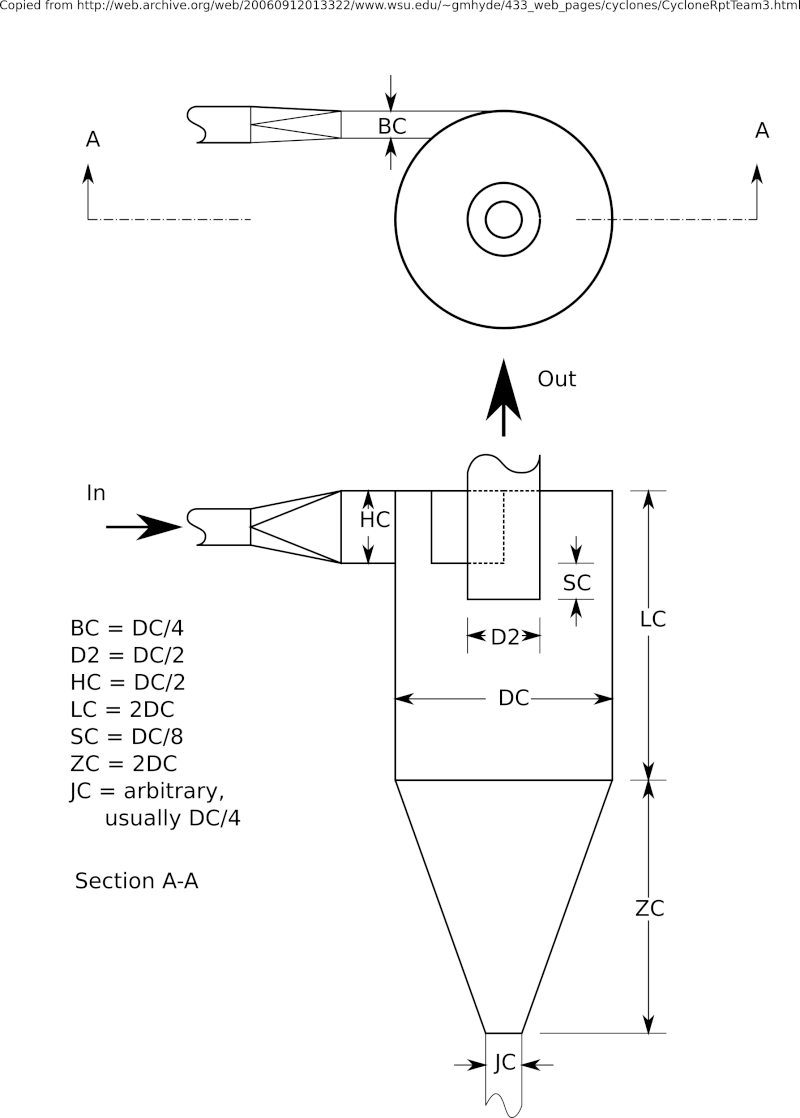
Diagram of proper proportions of dust cyclone (a cleaned up version of an image found in an archived paper). You can see that the whole thing is a lot taller in proportion than the spin-dryer, and the inner tube a smaller proportion of that. I might try cutting the inner drum shorter, but it does work as it is, and so far I haven’t filled it full enough before emptying it that the extra length is a problem.
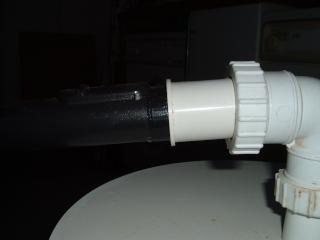
Outlet pipe with vacuum-cleaner nozzle inserted

outlet pipe with vacuum-cleaner nozzle pulled partway out to show that the seal is made by a couple of wraps of duct tape, far enough up the nozzle so as not to interfere with the conventional attachments.

Assembled and ready to suck. And it does suck; having the cyclone in the way of the air going into the vacuum cleaner reduces suction less than having a moderately full bag.